Place, replace, or move a photo
Photos can be added, replaced, and moved directly in the editor. Motif Studio adjusts the design as its content changes.
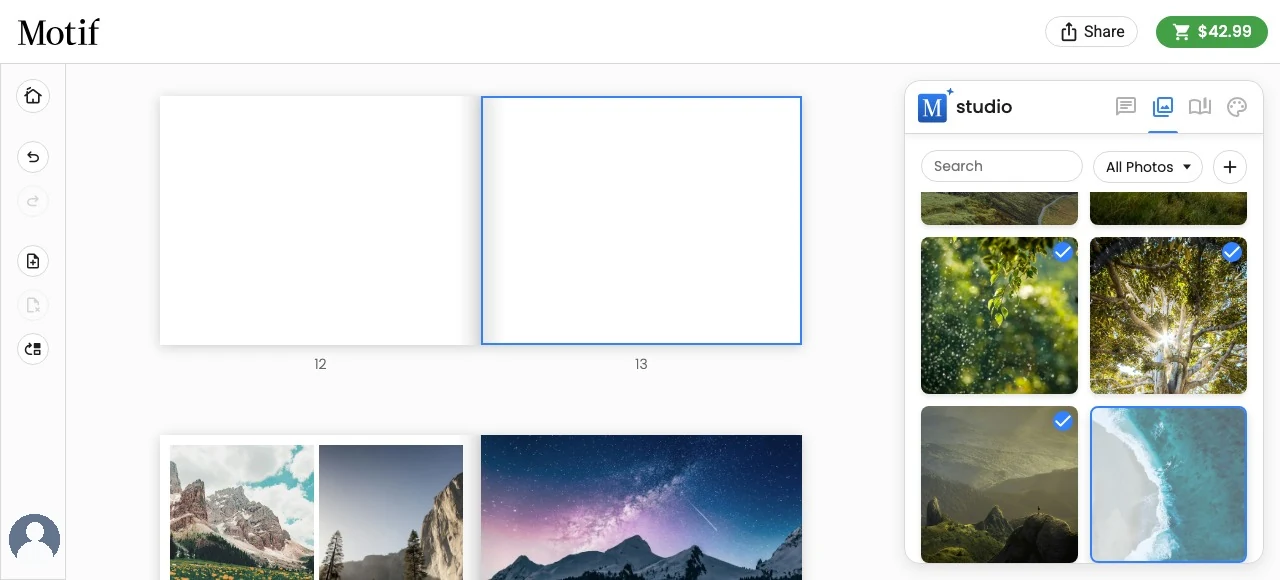
Add a photo to a page or cover
A surface is any editable part of your project where you can add a photo: a photo-book page, cover, or flap; one of a memo book’s cover surfaces; a calendar image area; or a side of a card. A photo-book page and its front cover are separate surfaces, but the same add-photo steps work on both.
- In Edit view, go to the surface and select or point to it until its controls appear.
- Open Page options and choose Add Image to Page….
- In the Photos tab, select a photo or drag it into an open, highlighted area.
With a keyboard or screen reader, move to the photo's Add image to page button and press Enter or Space. Each button identifies its photo by description when available, or by its position in the Photos tab. The target surface shows a progress indicator until the updated page is ready. If the photo cannot be added, Motif Studio leaves the surface unchanged and shows an error so you can try again.
In a photo book, go to the page you want or choose Front Cover before following these steps. As you add or remove photos from the front cover, Motif Studio automatically chooses a cover composition that fits the current count.
You can also drag a photo from the library straight onto any surface that has room. Regular photo-book pages hold up to 36 photos, text boxes, and maps in total (preset layouts arrange up to nine, and a tenth switches the page to a freeform arrangement), while a photo-book front cover supports up to six photos plus its required title. Other covers, flaps, calendar pages, cards, and panoramic spreads have limits based on their printable design; Motif Studio hides or disables choices that do not fit. To replace a photo instead of adding one, drop it onto the existing photo. On a cover whose title sits over the photo, dropping onto the title replaces the photo underneath and keeps the title.
On a touch screen, touch a photo in the Photos tab and slide it towards the page; you do not need to press and hold first. Where the photos scroll up and down, slide the photo sideways to start; in the single row of photos on a phone, slide it up. You can also press and hold a photo until it lifts, then drag it in any direction. The photo follows your finger, the spot that will take it highlights, and holding it near the top or bottom of the pages scrolls them.
Replace a placed photo
Drag a photo from the Photos tab over the existing photo, and drop it when the target highlights. You can also ask the assistant to make the change.
After the drop, the page shows a progress indicator until the updated page is ready. If the photo cannot be replaced, Motif Studio leaves the page unchanged and shows an error so you can try again.
Replacing changes the image while keeping that position in the page design. A border applied to the position stays with the page rather than moving away with the old photo.
Selecting a placed photo does not turn the Photos tab into a click-to-replace mode. Use drag and drop when you want to replace the selected photo.
Select a photo and choose Border to set its width, corner shape, and colour. Borders are available when the photo sits inside the page or cover, including a front-cover photo that you resized or placed in an inset cover layout. A photo that fills the surface edge to edge does not show the Border choice.
Front-cover borders stay with the design in project previews, shared views, and print output.
Move or swap placed content
- Press and hold a placed photo, text box, or map until it lifts.
- Drag it onto another eligible photo, text area, or open position.
- Drop when the destination highlights.
On long pages, moving near the top or bottom of the screen scrolls the editor while you drag.
Moving onto occupied content swaps the two positions. Some positions cannot participate in a swap: the photo-book front cover image and title stay anchored to the cover, captions cannot be dragged, and a text box cannot move to a page that already has a caption. A blocked destination shows that the drop is not available.
Swapping trades content between two positions. To move a box freely around its own page instead, drag the round grip on the box's selection frame — see Resize or move a photo or text box.
Remove a photo from a page
Select the photo and choose Remove. Removing the last item can leave a blank page, so review the page before ordering. The image remains in your project’s Photos tab unless you remove it from the project separately.
If you only need to show a different part of the same photo, use Crop, rotate, and filter a photo. For a different arrangement, see Work with pages and layouts.